Panoramic Photo

By now you've probably used your phone to create a panoramic photo. You simply use the correct mode in the camera and slowly pan to have as much in the shot as possible. This can work well, but occasionally create issues.
What I would like you you to do is take a series of shots, each overlapping by 1/4 to 1/3 and then we will stitch them together to make a single, wide shot of them. As you take the shots, you should have at least 4, but more would just make it an even wider photo... which is cool! This handout will explain the process.
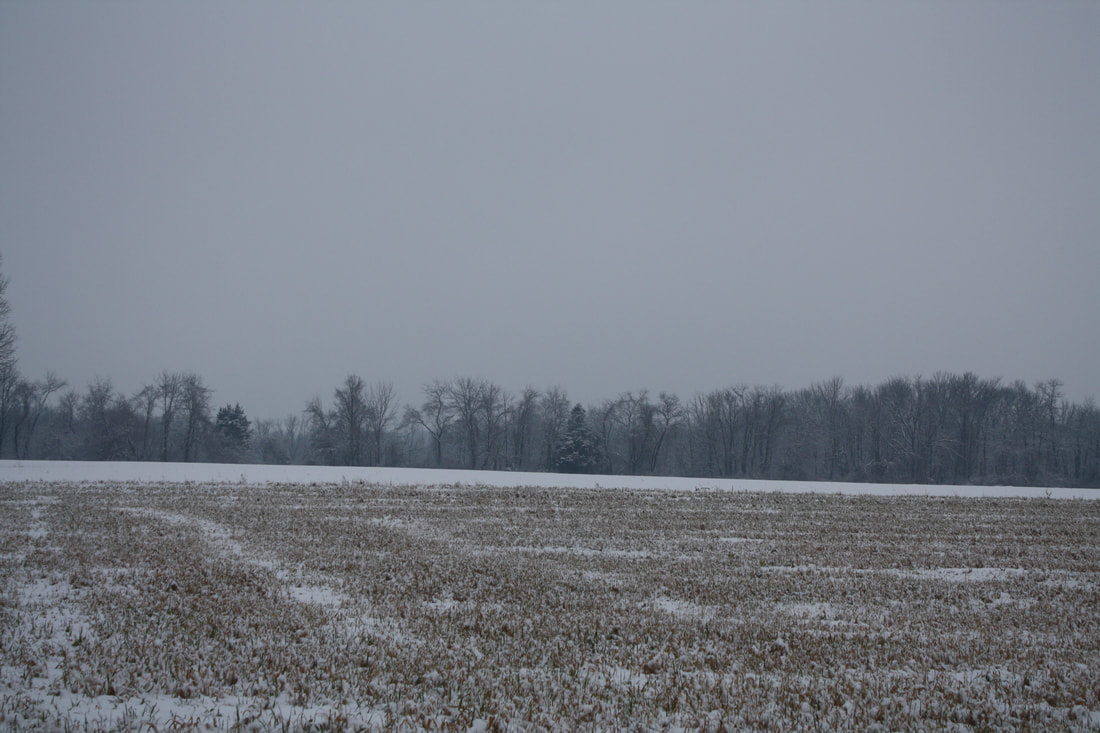
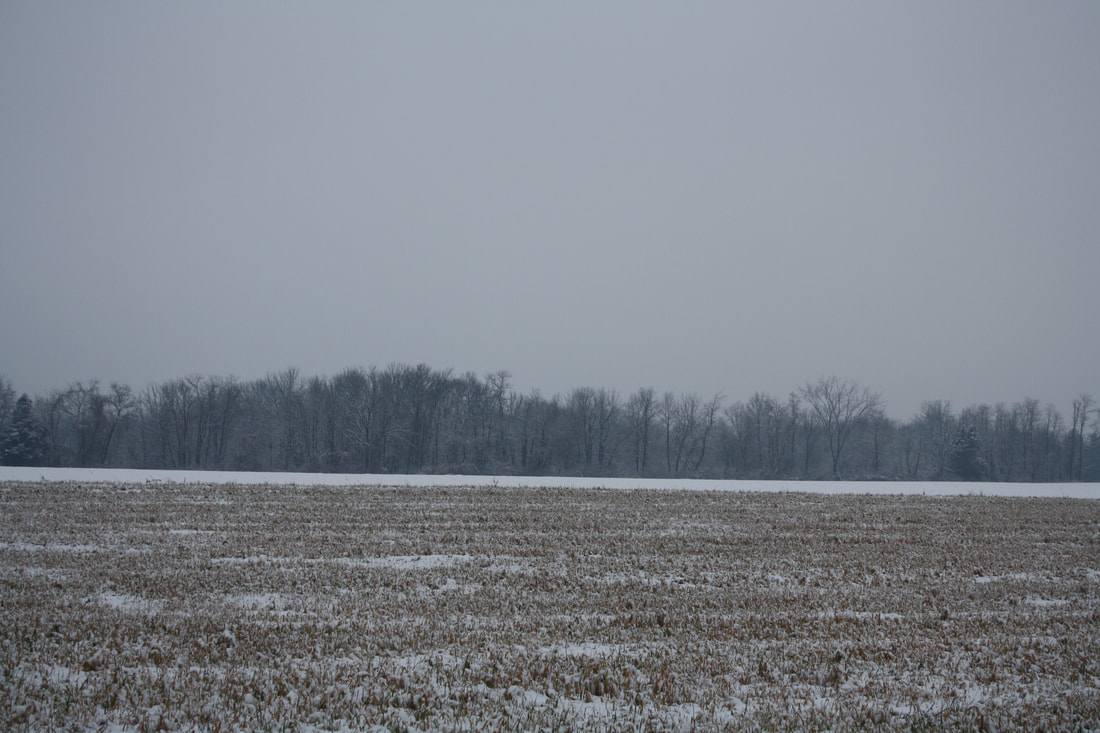
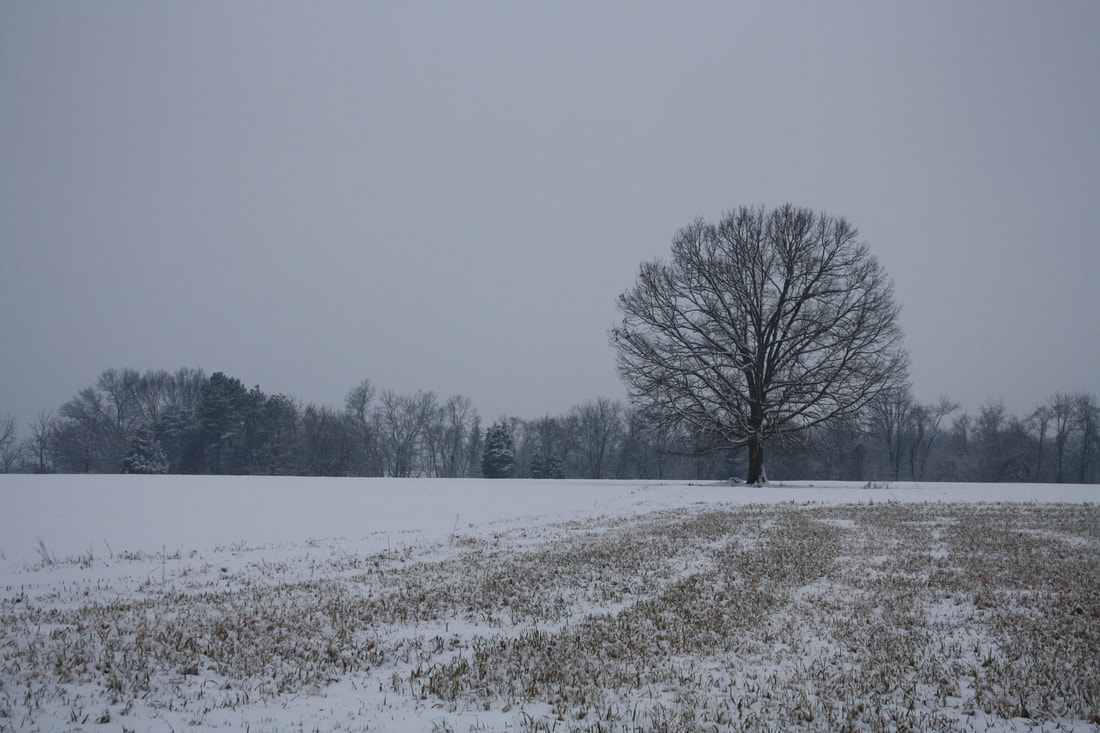
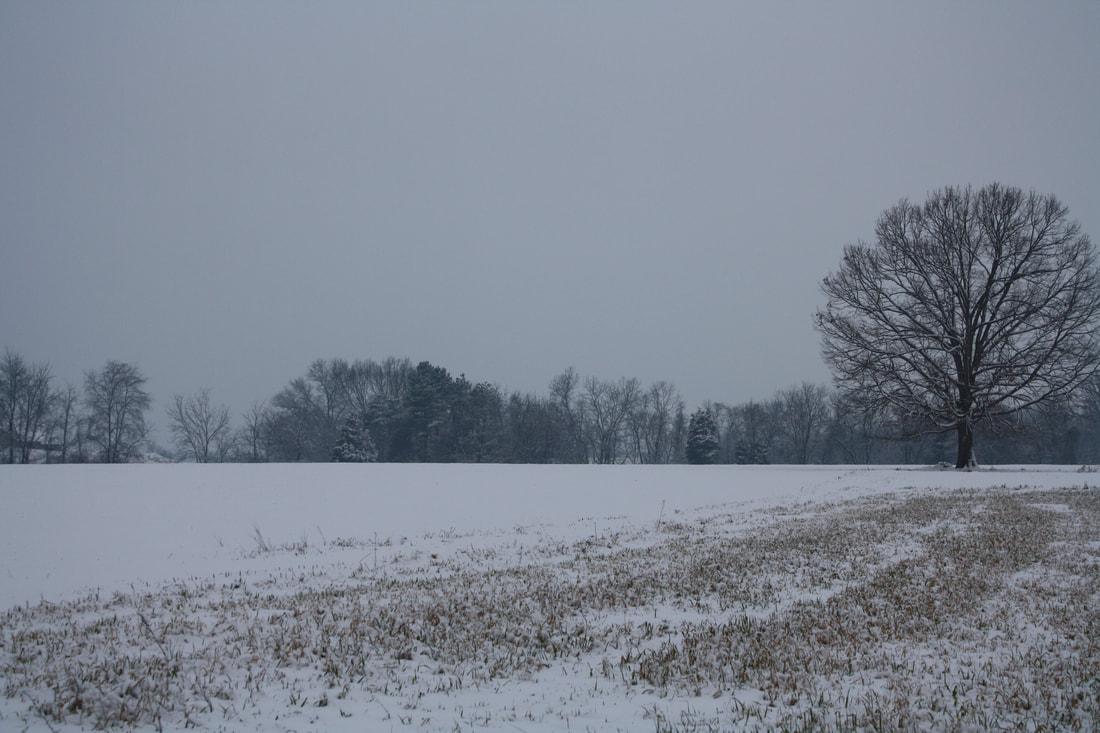
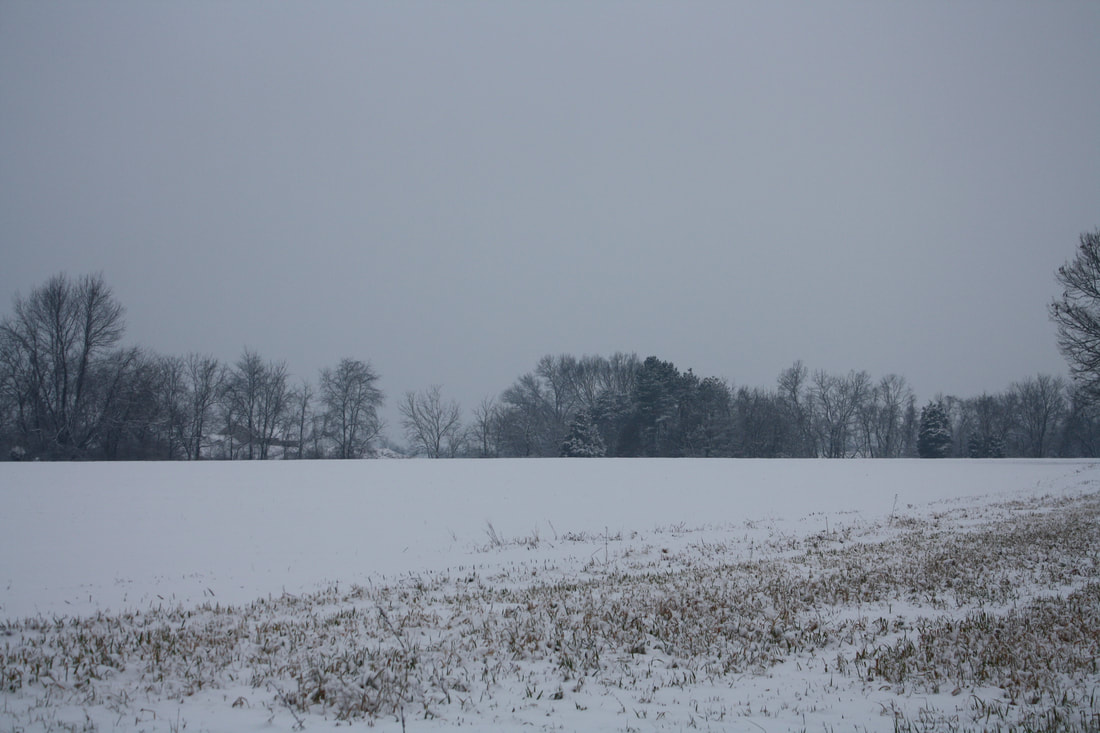
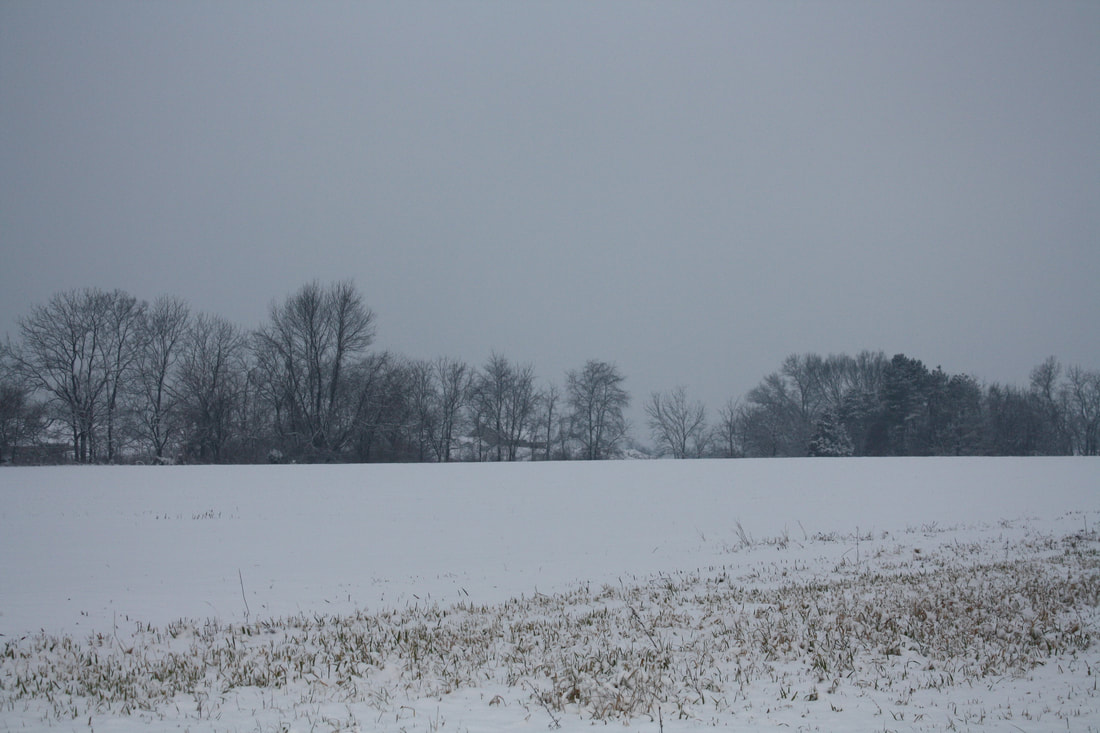
All of the photos below were the original shots used to make the above panoramic photo. There were 9 in total, making a very wide final photo.
What I would like you you to do is take a series of shots, each overlapping by 1/4 to 1/3 and then we will stitch them together to make a single, wide shot of them. As you take the shots, you should have at least 4, but more would just make it an even wider photo... which is cool! This handout will explain the process.
All of the photos below were the original shots used to make the above panoramic photo. There were 9 in total, making a very wide final photo.