NHS DIGITAL PHOTOGRAPHY 2
  • Home
  • Projects
    • Logo >
      • Planning your Logo
      • Scanning Your Rough
      • Practice Vectoring
      • Setting up to Vector your Logo
      • Planning Your Vector
      • Vectoring Issues
    • Tips Book
    • Dramatic Lighting
    • Sequence Photography
    • Creative Edges
    • Panoramic Photo
    • A Picture is Worth a Thousand Words
    • High Contrast Action Set
    • 3D in Photoshop
    • Shift Tilt
    • Lomo
    • Oil Painting
    • HDR (High Dynamic Range)
    • Animated GIF's >
      • Animating From a Still Photo
      • Animating from a Series of Photos
    • Triptych
    • Converting Color Photos to Black & White
    • Making a Website >
      • Using Weebly
      • Making a Banner
  • Lessons
    • Histograms
    • Adjusting Tone with Levels
    • Adjusting Tone with Curves
    • Correcting Color
    • Lighting
    • Black and White Photography
    • Night Photography
  • Links
  • Untitled

Turning a Photo Into an Oil Painting
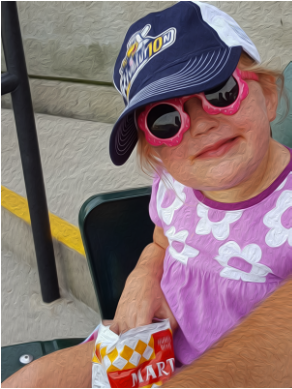
Picture
One thing that Photoshop can do pretty easily and still look pretty impressive is making paintings. It really is rather cool looking when it's done well. In this project we'll take one of your digital photos and make it look like an oil painting. This handout will walk you through the process and explain the controls of the filter. Follow the handout, experiment with the functionality of the sliders, and make something cool! For best results, use an HDR photo. Often painting use rather vibrant colors and lack strong shadows, so HDR shots are perfect for this. Also, when choosing settings, I'd go more for significant effects than the subtle ones. Sometimes subtle just looks fake and not like the real thing. 

nhsbobcats.org

sapphire

Mr. Tate's blog

techgeek.pro

Copyright © 2015